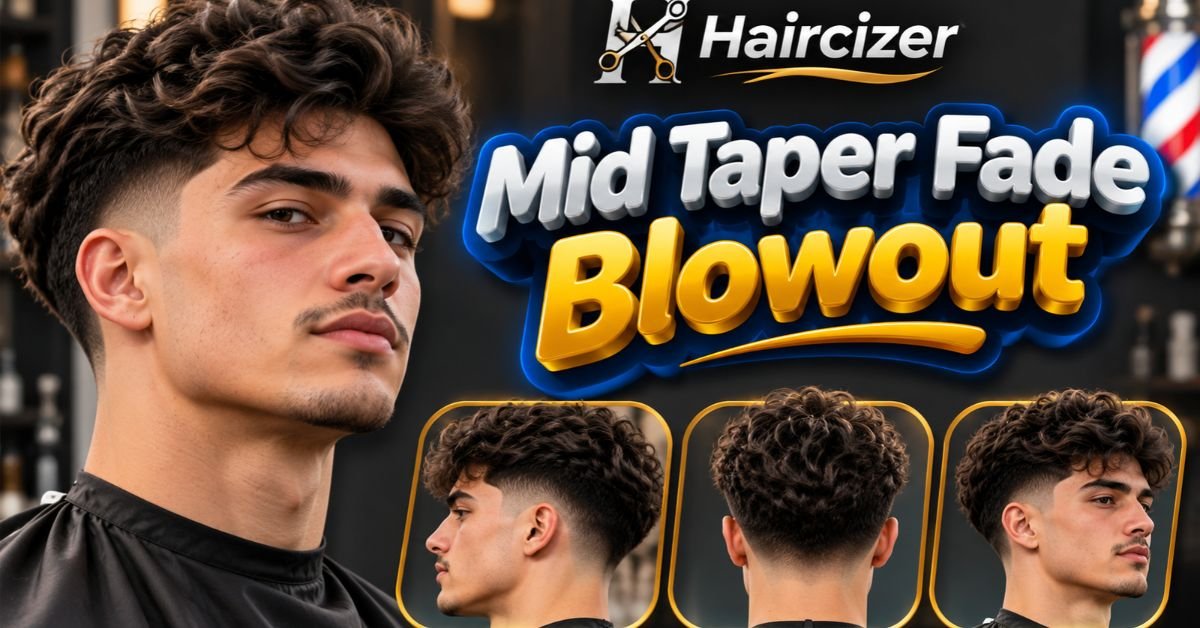
A mid taper fade blowout is one of those haircuts that looks effortless in photos and surprisingly technical in real life. The sides are neat, the top is full of lift, and the whole shape sits somewhere between sharp and relaxed.
Getting it right takes two things: a clean taper from your barber and a blowout that suits your hair type. Miss either one, and you end up with a flat top or a puffy mess.
This guide covers what the cut actually is, who it suits, how to ask for it, how to style it at home, and how to keep it fresh. Everything here comes from how barbers talk about the cut and what tends to work across different textures, so you can walk into the shop knowing exactly what you want.
What is a mid taper fade blowout?
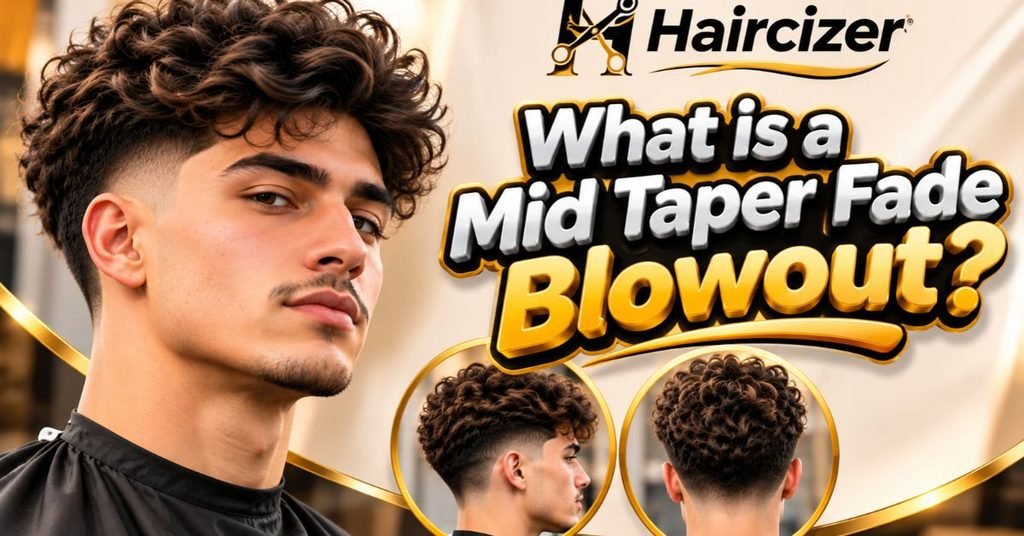
A mid taper fade blowout is a short-sided haircut with a full, lifted top. The sides and back get shorter as they move down toward the neckline, starting at a mid point on the head. The top is left longer and dried with heat to create height, volume, and movement.
In simple terms, it is two ideas joined together: a mid taper on the sides and a blowout on top. The taper handles the clean edges. The blowout handles the shape and body.
What “mid taper fade” means at the barbershop
Barbers use the word “mid” to describe where the shortening begins. On a mid taper, that starting point sits around the temple and roughly level with the top of the ear. Below that line, the hair gets gradually shorter until it reaches the neckline.
Here is what that means in practice:
- The blend starts about halfway up the side of your head.
- The shortest point is at the nape and around the ears.
- The line is curved, following the natural shape of your skull.
- A taper usually keeps a little length at the bottom, while a skin fade goes down to bare skin.
Many people use “taper” and “fade” as if they are the same thing. Barbers treat them as close cousins. A taper is softer and leaves more hair at the edges. A fade is more dramatic and often goes to the skin. The “mid taper fade” label sits right in between, which is why you will hear both words in the same sentence.
What makes it a blowout instead of just a textured top
A textured top is cut with choppy layers and styled with product. A blowout is built around airflow and lift. The difference shows up in three places:
- Volume at the roots. The hair is dried upward and forward, so it stands off the scalp instead of lying flat.
- A rounded, airy shape. The silhouette looks soft and full rather than sharp and piecey.
- Movement. The hair has body and bounce, so it shifts naturally when you move.
Because the top stays fuller, the mid taper acts as a frame. The tight sides make the volume look intentional rather than overgrown. That contrast is the whole appeal of the cut.
Is a mid taper fade blowout right for your hair?
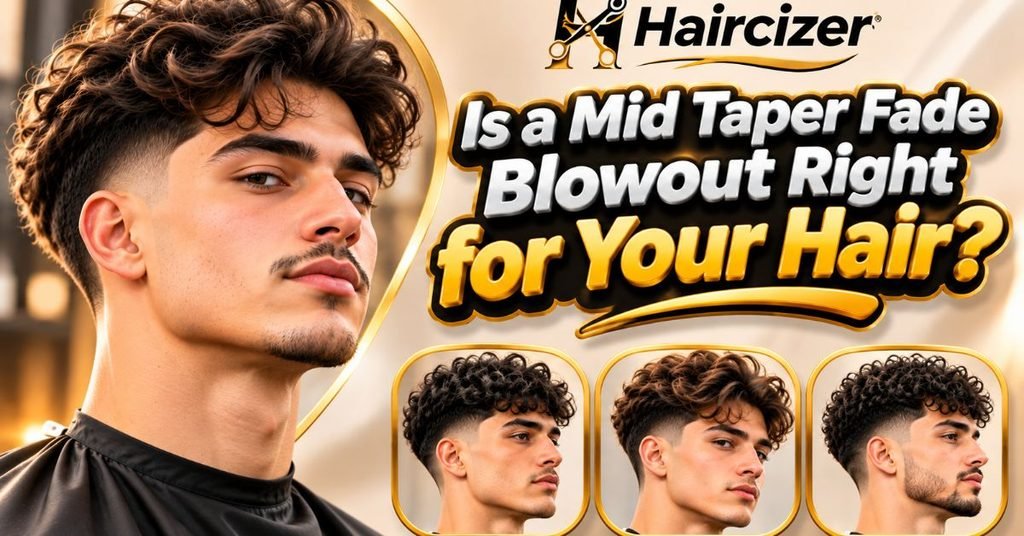
Most people can wear this cut, but the result changes a lot depending on your hair type. The top needs enough length to lift, usually somewhere between two and four inches, though curly and coily hair can sit slightly different because of shrinkage.
How the cut changes for straight, wavy, curly, and coily hair
Straight hair
Straight hair takes a blowout well, but it can fall flat by lunchtime. Barbers often add texture through point cutting so the top has some grip. A pre-styling product such as sea salt spray or a light mousse helps the hair hold its lift.
Keep the fringe a little longer if you like a forward-brushed look. Fine straight hair benefits from slightly more length on top, since short, thin strands struggle to stand up.
Wavy hair
Wavy hair is arguably the easiest to work with. It already has natural bend and body, so a blowout simply amplifies what is there. You get volume without much fight.
The main risk is frizz. Dry the hair with a diffuser or a low heat setting, and finish with a small amount of cream to keep the waves defined.
Curly hair
Curly hair gives the blowout cut a bold, bouncy look. The top is usually left a bit longer to allow for curl spring-back, since curls look shorter once they dry.
A diffuser is your friend here. Blasting curls with a regular nozzle often creates frizz. Use a curl cream before drying, and avoid brushing once the hair is dry.
Coily hair
On coily hair, the blowout often means stretching the curl pattern so the hair can be shaped and lifted. Many barbers use a comb attachment and a controlled airflow to pull the hair upward and outward.
The mid taper keeps the sides tidy while the top stays full and rounded. Moisture matters more here than anywhere else. Dry, stretched coils break easily, so a leave-in conditioner and a heat protectant are not optional.
| Hair type | Ideal top length | Best drying tool | Main challenge |
| Straight | 2–4 inches | Nozzle dryer and round brush | Lifting and holding volume |
| Wavy | 3–4 inches | Dryer with diffuser | Frizz control |
| Curly | 3–5 inches | Diffuser | Keeping curls defined |
| Coily | 3–5 inches | Comb attachment or pick | Moisture and breakage |
Do density, cowlicks, and styling time matter?
Yes, and they matter more than most people expect.
Density. Thick hair gives you an easy, full blowout, but it can look heavy if the barber leaves too much weight. Thin or fine hair needs extra length and a pre-styler to create the illusion of fullness. A good barber will thin out bulk on thick hair or build lift on fine hair.
Cowlicks. A cowlick at the front hairline can push the fringe in the wrong direction. Barbers handle this by cutting around it or leaving extra length so the weight holds it down. A crown cowlick is easier, because the blowout can work with the swirl rather than against it. Mention yours before the cut starts.
Styling time. Be honest with yourself. A proper blowout takes about five to ten minutes each morning. If you only want to wash and go, a lower-effort texture cut might suit you better. If you enjoy a short routine, this cut rewards the effort.
Mid, low, or high: which blowout taper should you choose?
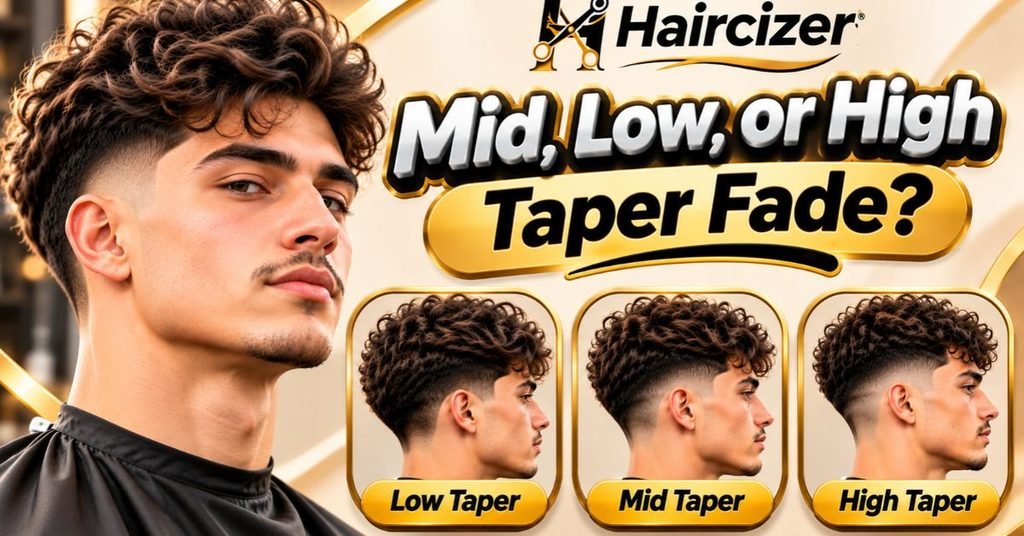
The “mid” in the name matters, because the starting height changes the whole mood of the haircut. Here is how the three options compare.
| Taper height | Where it starts | Look | Best for |
| Low taper | Just above the ear and around the nape | Soft, subtle, conservative | Office settings, longer hair, easy grow-out |
| Mid taper | Around the temple, level with the top of the ear | Balanced, clean, versatile | Most face shapes and hair types |
| High taper | High on the sides, near the temple line or above | Sharp, bold, high contrast | Strong style statements, clear contrast |
Choose a low taper if you want the lightest change and the easiest grow-out. The sides stay fuller, so the blowout looks more natural.
Choose a mid taper if you want a clean frame without going extreme. It is the safest middle ground and works for school, work, and weekends alike.
Choose a high taper if you want maximum contrast between short sides and a full top. It looks sharp, but it needs more frequent upkeep.
If you are unsure, start with mid. Your barber can always take it higher next time, but you cannot add hair back.
How do you ask your barber for a mid taper fade blowout?
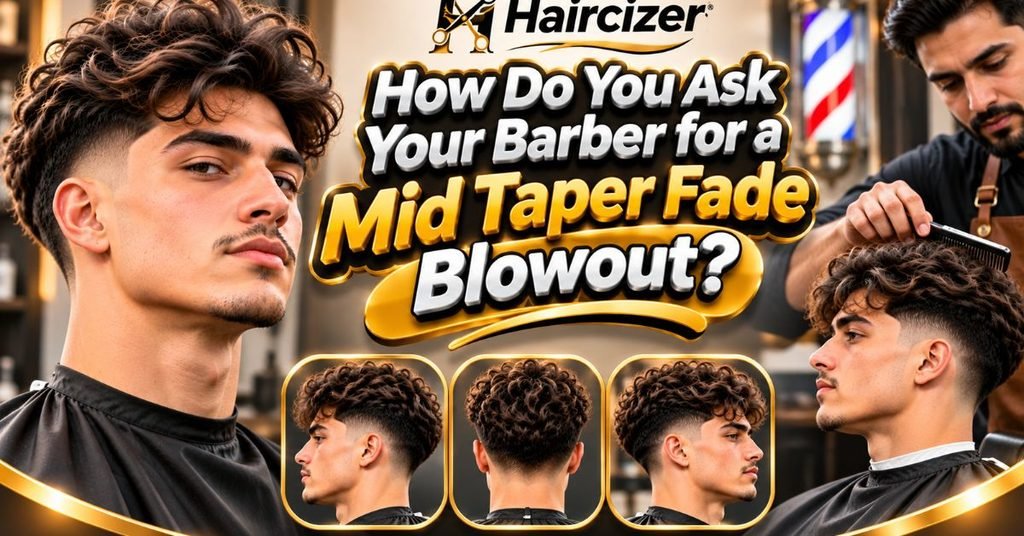
Clear communication is the biggest factor in getting the haircut you want. Barbers cannot read minds, and the words “taper” and “fade” mean slightly different things from shop to shop.
What to tell your barber before the clippers start
Walk in with a short, specific script. Something like this works well:
“I’d like a mid taper on the sides and back, blended down to a short length at the neckline. I want to leave about three inches on top so I can blow-dry it for volume.”
Then cover these details:
- Taper start point. Say “mid” and point to the spot near your temple.
- Bottom finish. Say whether you want a skin finish or a slightly longer, softer edge.
- Top length. Give a number in inches, or pinch the length between your fingers.
- Texture on top. Ask if the barber will point cut or add layers to help the blowout.
- Neckline. Choose between a rounded, tapered, or squared-off edge.
- Your styling routine. Tell the barber how much time you spend styling, and which tools you own.
Mention any cowlicks, thin patches, or areas where your hair grows in odd directions. These small details change how the barber cuts.
What reference photos should you bring?
Also Read:Mid Taper Fade for Boys: Cool Styles & Barber Tips
Photos remove guesswork. Aim for two or three images, not ten.
- A front view to show the fringe and top shape.
- A side view to show where the taper starts and how it blends.
- A back view, if possible, to show the neckline.
Try to pick photos of people with a hair texture close to yours. A straight-hair blowout will not translate directly to curly hair, and your barber will spend time explaining why. Also, be ready to say what you like and dislike about each photo. “I like the volume but not the skin fade” is more helpful than “make it look like this.”
Questions worth asking your barber
A good consultation goes both ways. Once you have explained what you want, ask a few questions of your own:
- “Will my hair type hold this shape, or should I adjust the length?”
- “Where would you start the taper for my head shape?”
- “How long will it take to grow out if I do not like it?”
- “Can you show me how to dry the top the way you did here?”
- “How often should I come back to keep the sides sharp?”
These questions show that you care about the result, and they give the barber room to share professional advice. Most barbers enjoy this kind of conversation, and it often leads to a better cut.
How do you style a mid taper fade blowout at home?
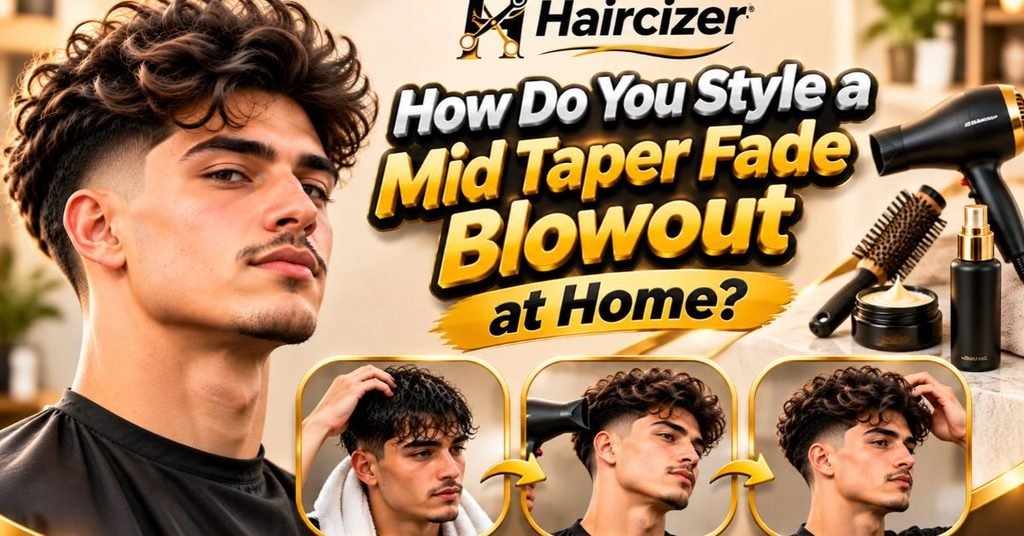
The cut is only half the story. The blowout routine decides whether you look like the photo or like you just rolled out of bed.
The step-by-step blowout routine
Here is a simple routine that works for most textures. Adjust the tools to suit your hair.
- Start with clean, damp hair. Towel-dry until the hair is about 70 to 80 percent dry. Dripping hair takes too long to style, and fully dry hair will not respond well.
- Apply a heat protectant. A light spray prevents damage from the dryer.
- Add a pre-styler. Work sea salt spray or a volumizing mousse through the roots. This step builds grip and lift.
- Rough-dry first. Use your fingers to lift the hair upward and forward while the dryer is on medium heat. Get the hair about 90 percent dry.
- Shape with a brush or comb. For straight or wavy hair, use a round brush to lift the roots. For curly or coily hair, use a comb attachment or a pick.
- Finish with cool air. The cool setting locks the shape in place.
- Add texture product. Warm a small amount of matte clay or paste in your palms, then work it through the top. Start at the back and move forward.
- Check the sides. Make sure the product has not touched the tapered area, which can make the fade look messy.
A few small habits make a big difference:
- Always point the dryer nozzle down the hair shaft, from root to tip.
- Keep the dryer moving. Holding it in one spot causes heat damage.
- Use less product than you think you need. You can always add more.
How styling changes by hair texture
| Texture | Pre-styler | Dryer approach | Finishing product |
| Straight | Sea salt spray or mousse | Round brush, lift at the roots | Matte clay or light spray |
| Wavy | Light cream or mousse | Diffuser, minimal brushing | Texture paste or cream |
| Curly | Curl cream | Diffuser, scrunch gently | Light gel or curl cream |
| Coily | Leave-in conditioner | Comb attachment, low heat | Moisturizing cream or oil sheen |
If you ever feel unsure, start with fewer products. A simple pre-styler and a single finishing product beat a crowded shelf every time.
Tools and products that make the routine easier
You do not need a bathroom full of gear. A short, well-chosen kit does the job and saves money.
- A dryer with adjustable heat and speed. Look for at least two heat settings and a cool shot button. A concentrator nozzle helps with direction, and a diffuser helps with curls and waves.
- A vented or round brush. Straight and wavy hair respond well to a medium-sized round brush. A vented brush speeds up drying and keeps the top light.
- A wide-tooth comb or pick. This is the best tool for coily hair, since it lifts without breaking the curl pattern.
- Heat protectant. Pick a light spray or cream that does not leave residue.
- A pre-styler. Sea salt spray suits straight hair, mousse suits fine hair, and curl cream suits curls and coils.
- A finishing product. Matte clay gives a dry, natural finish. Paste gives a little flexibility. Cream adds softness without stiffness.
Your barber can recommend products based on how your hair behaves. It is worth asking, because a product that works wonders on one head may weigh down another.
Common styling shortcuts that actually work
Mornings are busy, so a few shortcuts help.
- Prep the night before. Wash your hair in the evening and let it air-dry partway. In the morning, you only need a quick blast of heat to reset the shape.
- Dry the front first. The fringe sets the tone for the whole look, so shape it while the hair is still damp.
- Flip your head over. Drying the roots upside down for thirty seconds adds lift without extra product.
- Use your fingers. Fingers give a softer, more natural result than a brush, especially on wavy and curly hair.
- Skip the extra spray. A light mist at the end is enough. Too much hairspray makes the top stiff and takes away the airy feel.
What goes wrong with a blowout taper, and how to avoid it

Most problems come down to a handful of repeat mistakes. The good news is that nearly all of them are fixable.
Why a blowout looks flat, puffy, or too heavy
It looks flat when:
- The top is cut too short to lift.
- You skipped the pre-styler.
- You dried the hair flat against your head instead of lifting at the roots.
- Heavy, oily products weighed the hair down.
It looks puffy when:
- The hair is too dry or frizzy.
- You brushed it after it dried.
- The top has too much bulk and not enough shaping.
- You used a high heat setting without a diffuser on curly hair.
It looks too heavy when:
- The barber left too much weight on top.
- The taper starts too low, so the sides stay thick.
- The hair is dense and was not thinned out.
The fix is usually a mix of better communication and better technique. Ask your barber to texturize the top, adjust the length, or raise the taper slightly if the shape feels off.
Can regular blow-drying damage your hair?
It can, but it does not have to. Heat damage comes from three habits: using very high temperatures, holding the dryer too close, and skipping protection.
You can lower the risk with a few simple steps:
- Use a heat protectant every time.
- Keep the dryer at least six inches from your hair.
- Choose medium heat instead of the hottest setting.
- Finish with cool air to seal the cuticle.
- Condition regularly, especially if your hair is curly or coily.
If your hair feels brittle, rough, or snaps easily, take a break from heat for a few days and focus on moisture. Short, controlled sessions are far kinder than long, hot ones.
How often does a mid taper fade blowout need a refresh?

The sides lose their shape faster than the top. Because the taper depends on clean, tight lines, even a few weeks of growth can blur the effect.
| Goal | Refresh timing |
| Sharp, crisp look | Every 2 to 3 weeks |
| Clean but relaxed | Every 3 to 4 weeks |
| Soft, grown-out look | Every 4 to 6 weeks |
Hair on the sides grows at about the same pace as the rest, but the contrast makes growth more visible there. If you want the top to keep its shape, ask your barber to trim only a little off the length at each visit, and focus on cleaning up the taper and neckline.
Between appointments, a small trimmer can tidy the neckline, but leave the blending work to a professional.
Mid taper fade blowout variations worth considering
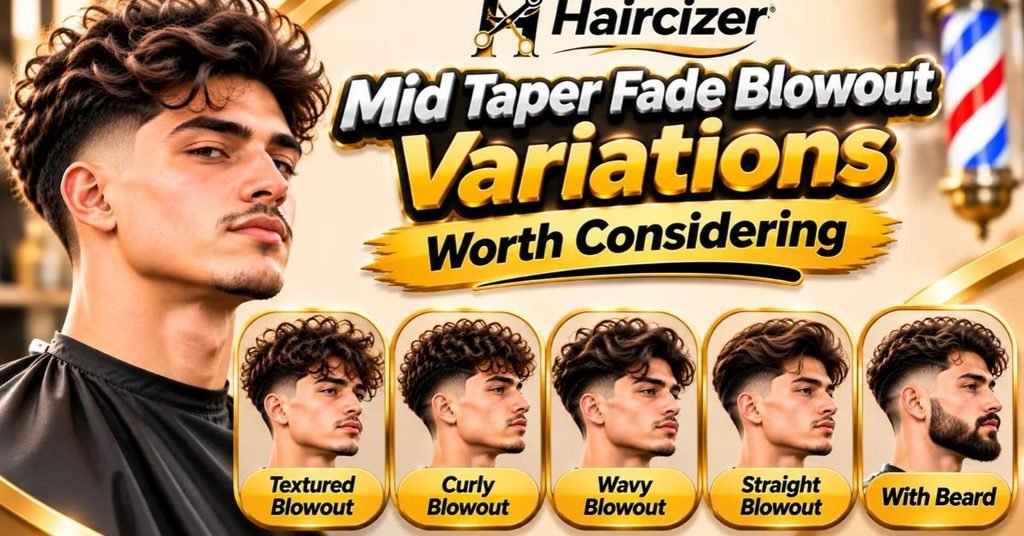
Once you understand the basic cut, you can adjust it to fit your personal style. Here are some of the most popular versions.
Classic mid taper blowout
This is the standard version: a clean mid taper with a full, brushed-up top. It works well for everyday wear, from work to weekends. Ask for a length of about three inches on top and a smooth blend on the sides.
Mid taper blowout with a textured fringe
Here the front falls forward in choppy, separated pieces. It adds a casual feel and works nicely on straight and wavy hair. Point cutting and a bit of matte clay create the broken-up look.
Mid taper blowout for wavy hair
This version leans into natural movement. The waves are left a bit longer, then dried with a diffuser for soft, defined shape. It looks relaxed and requires only a little product.
Mid taper blowout for curly and coily hair
Curls and coils give the cut a rounded, full look. The taper keeps the sides sharp while the top shows off natural texture. Moisture and gentle handling are the keys to making it look healthy.
Mid taper blowout for straight hair
For straight hair, the top is usually cut with layers to prevent a flat, helmet-like shape. A round brush and sea salt spray add lift, and a light-hold product keeps the shape in place. Fine hair benefits from a longer top.
Fluffy or messy mid taper blowout
This variation skips the neat finish. The top is deliberately airy and a little untidy, with little product and a relaxed shape. It suits people who like a casual, lived-in look and do not want to spend long styling.
Mid taper fade blowout vs similar haircuts
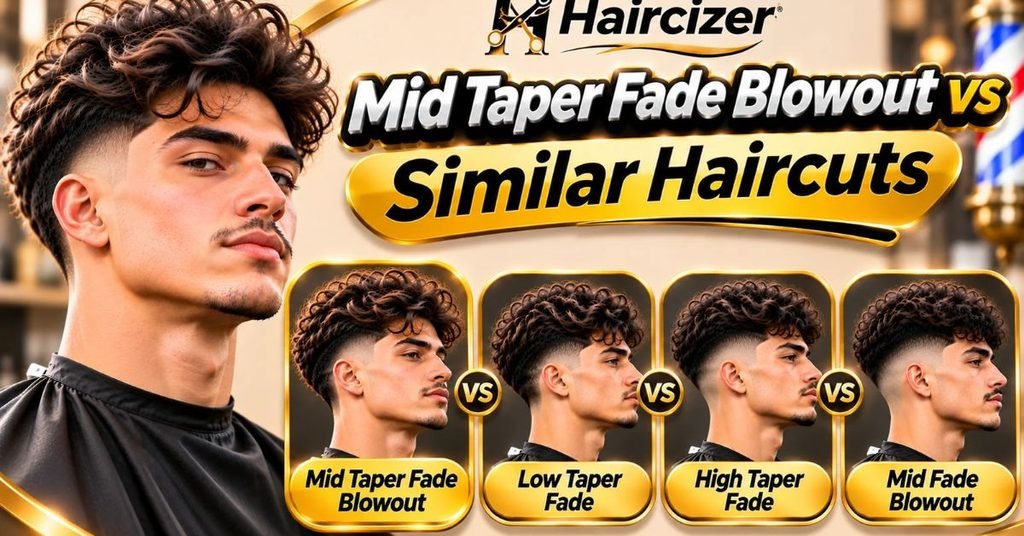
Several cuts look close to the mid taper blowout, which is why the terminology confuses people. This table lays out the main differences.
| Haircut | Sides | Top | Overall feel |
| Mid taper fade blowout | Mid taper, softly blended | Long, lifted, airy | Balanced and voluminous |
| Mid skin fade | Fades to bare skin, mid height | Varies | Sharper and higher contrast |
| Low taper blowout | Taper starts low | Long, lifted | Softer and more subtle |
| Mid taper with a quiff | Mid taper | Swept up and back | Polished and structured |
| Textured crop | Short fade or taper | Short and choppy | Casual and low maintenance |
| Mullet taper | Taper on the sides | Long at the back | Edgy and bold |
The key difference is the top. Only the blowout version relies on heat and airflow to create that full, lifted shape. Many of the others rely on product and cutting technique instead.
What to do before your barber appointment
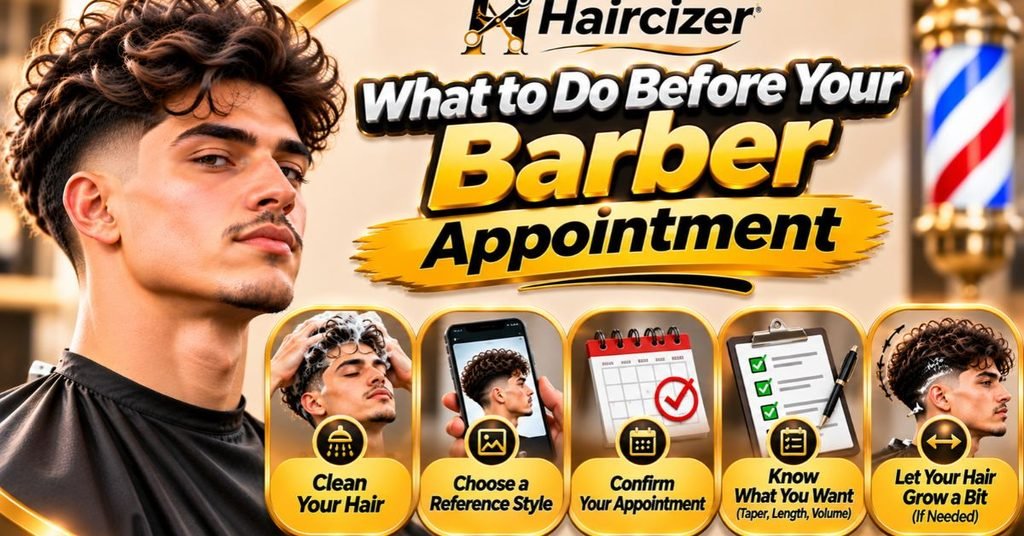
A little preparation goes a long way. Follow this short checklist before you sit down.
- Grow your hair out. Aim for at least two to three inches on top so the barber has enough to work with.
- Wash your hair. Arrive with clean hair, or tell the barber if it is not.
- Save your photos. Keep two or three reference images ready on your phone.
- Think about your routine. Decide how much time you will spend styling each day.
- Check your products. Make sure you own a dryer, a heat protectant, and a basic styling product.
- Book enough time. A blowout taper usually takes longer than a basic haircut.
- Ask for a quick demo. Many barbers will show you how to dry and shape the top, and it is worth asking.
If you are visiting a new barber, read reviews or check their portfolio for tapers and textured tops. A barber who regularly works with your hair type will usually give better results.
FAQs about the mid taper fade blowout
What is a mid taper fade blowout?
It is a mid taper on the sides with a longer, lifted, blow-dried top.
How long should my hair be for a blowout taper?
Two to four inches on top works for most hair types.
Is a mid taper fade blowout good for thin hair?
Yes, with a bit more length on top and a volumizing pre-styler.
Can I get a mid taper fade blowout with curly hair?
Yes, and a diffuser keeps the curls defined.
Does it work on coily hair?
Yes, with proper moisture and a stretched, shaped top.
How long does the styling take?
Usually five to ten minutes once you know the routine.
What products do I need?
A heat protectant, a pre-styler, and a matte clay or paste.
Do I need a blow dryer every day?
You do for the full look, but you can air-dry for a relaxed version.
How often should I get a trim?
Every two to four weeks keeps the taper clean.
Is a taper the same as a fade?
No, a taper is softer and leaves more length at the edges.
Will it suit my face shape?
Yes, the mid height flatters most face shapes.
Can I wear it with a beard?
Yes, and the taper can blend into the beard.
Conclusion
The mid taper fade blowout works because it balances two things that usually compete: a clean, controlled frame and a full, easy top. The mid-height taper keeps the sides sharp without being extreme, while the blowout gives the hair body and movement. It adapts well to straight, wavy, curly, and coily textures.
Success comes down to preparation and routine. Tell your barber exactly what you want, bring a few clear photos, and learn a simple drying method that suits your texture. Keep the sides fresh every few weeks, and protect your hair from heat. Do that, and the cut will look sharp every time.
Leave a Reply